
![]()

![]()
![]()


Implementation Guide
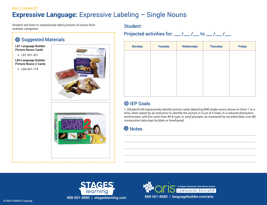
 Language Builder: ARIS is specifically designed to meet the needs of students with moderate to severe Autism Spectrum Disorders (ASD) and is appropriate for students with a range of developmental or cognitivedisabilities. The lessons in ARIS follow a logical progression that covers language, pre-academic, motor, social, and self-help skills that are critical to the academic and the personal development of all students.
In general, the lessons in the ARIS curriculum are best suited for students from preschool through elementary school, but many lessons will be appropriate for older students with more severe impairments or challenges in specific areas.
Lesson #7
Waiting
Lesson #8
Non-Verbal Imitation
Lesson #9
Verbal Imitation
Lesson #10
Following Single Verb Commands
Lesson #12
3D - 3D Matching
Lesson #13
3D - 2D Matching
Lesson #14
Following Single Verb Identical Matching
Lesson #16
Similar Matching Common Objects
Lesson #96
Sorting by Category
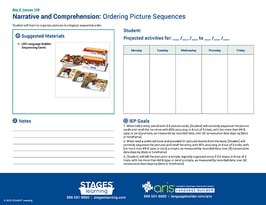
Lesson #100
First, Next, Last Sequencing Cards
Lesson #103
What Did You Do? Recall of Single Action

Lesson #48
Tracing Lines
Lesson #51
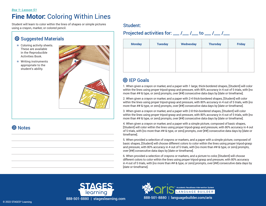
Coloring Within Lines
Lesson #52
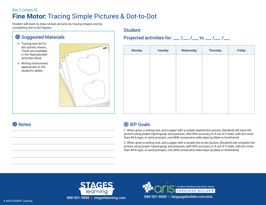
Tracing Simple Pictures and Dot to Dot
Lesson #53
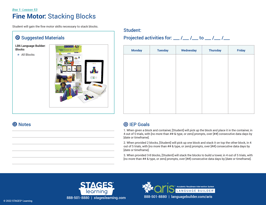
Stacking Blocks
Lesson #57
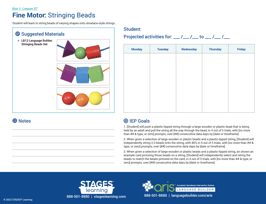
Stringing Beads
Lesson #59
Bouncing
Lesson #70
Go to Lesson Tips
Lesson #73
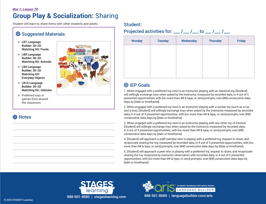
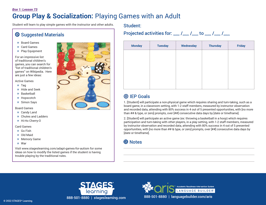
Playing Games with an Adult
Go to Lesson Tips
Lesson #76
Go to Lesson Tips
Lesson #78
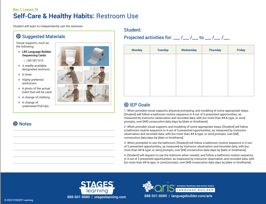
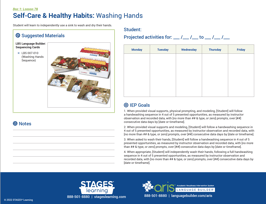
Washing Hands
Go to Lesson Tips
Lesson #79
Following a Schedule
Go to Lesson Tips

Lesson #165
Go to Lesson Tips
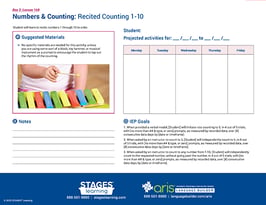
Lesson #168
Recited Counting 1-10
Go to Lesson Tips
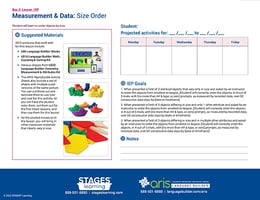
Lesson #189
Size Order
Go to Lesson Tips
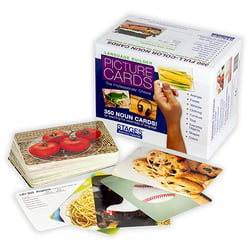
Nouns
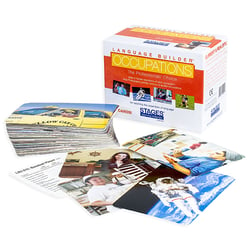
Occupations
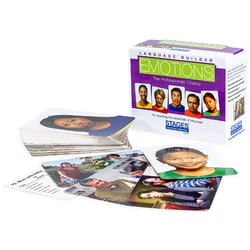
Emotions
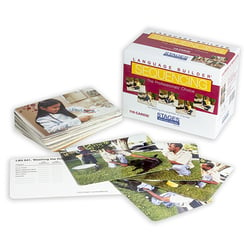
Sequencing
Verbs & Action Words

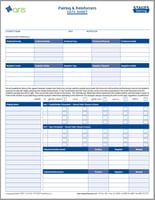
Pairing & Reinforcers
Data Sheet
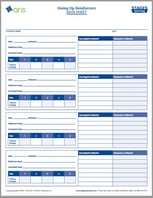
Giving up Reinforcers
Data Sheet
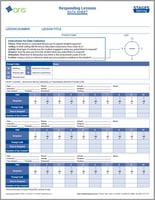
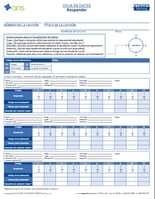
Responding Lessons
Data Sheet
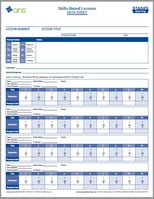
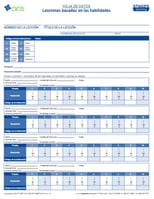
Skills-Based Lesson
Data Sheet
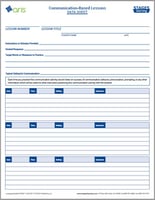
Communication-Based Lessons Data Sheet
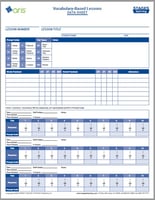
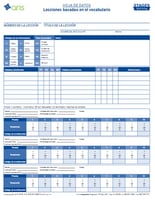
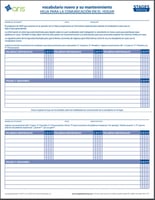
Vocabulary-Based Lessons
Data Sheet
Pairing & Reinforcers
Data Sheet - Spanish
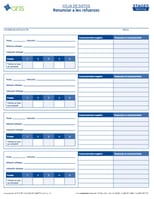
Giving up Reinforcers
Data Sheet - Spanish
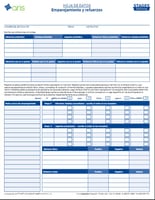
Responding Lessons
Data Sheet - Spanish
Skills-Based Lesson
Data Sheet - Spanish
Vocabulary-Based Lessons
Data Sheet - Spanish
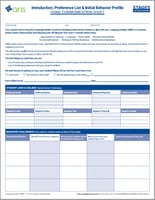
Introduction, Preference List,
& Initial Behavior Profile
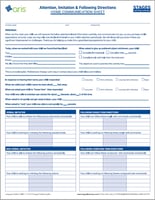
Attention, Imitation, &
Following Directions
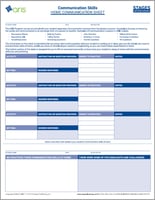
Communication Skills
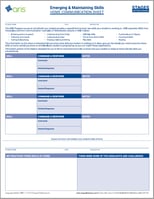
Emerging & Maintaining Skills
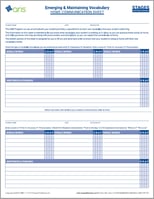
Emerging & Maintaining Vocabulary
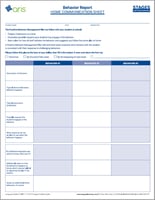
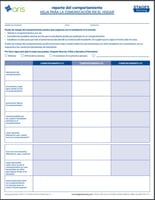
Behavior Report
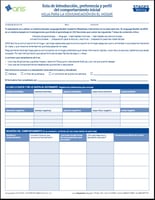
Introduction, Preference List, & Initial Behavior Profile - Spanish
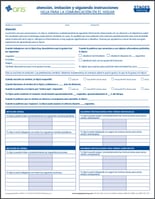
Attention, Imitation, & Following Directions - Spanish
Communication Skills - Spanish

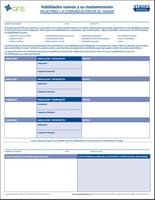
Emerging & Maintaining Skills - Spanish
Emerging & Maintaining Vocabulary - Spanish
Behavior Report - Spanish
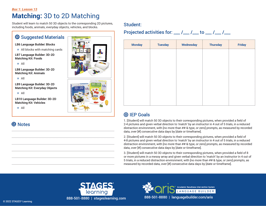
Daily Behavior Tracking
![]()
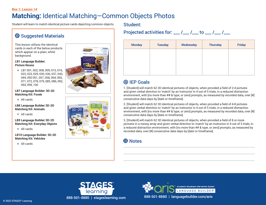
Weekly Behavior Tracking
![]()
Targeted Behavior Plan

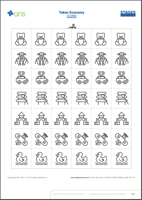
Token Economy Icons

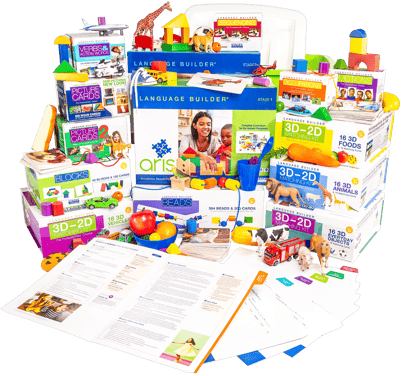
Tips for Augmenting Your Free Language Builder Photo Cards
At the core of many Language Builder ARIS Lessons are realistic photo cards. The full ARIS kit includes over 1200 picture cards, including Nouns, Occupations, Emotion, Sequencing and Verbs. In this free resource, we have given you a selection of cards to start with. If you can’t bring the actual Language Builder Card sets into your classroom, you can use a couple of hacks to add to your photo collection,
Take your own pictures
You can take photos with your digital camera or cell phone, then print these pictures on a color printer or at a photo print shop. CVS and RiteAid are two locations that have a service where you can upload your images online and then pick them up in an hour. Amazon even has a photo printing service, so you can have images sent directly to your home or school. Here are a few tips to help you take the best images to use with your ARIS lessons:
Minimize Background Distractions
For the picture below: Is it shoes? A hand? A plant?

Use Natural Light
Natural light is the easiest way to get a good picture without a professional lighting set-up. The best way to do this is by using what is called "open shade." pOen shade is anywhere that is shaded from direct sunlight but still has ambient light around it. In other words, you don’t want to be deep in a dark shaded area, you need to have light around it so that the area is “open” to the light.You want an area not in direct sunlight, but with the sunlight very close. A good example is when the sun is blocked by a building wall rather than a patio cover.
Crop & Adjust
You can crop and adjust photos easily on your phone, so the original shot doesn't have to be perfect. Or, if you want to dig in a little deeper, Adobe has super simple, free photo cropping tool. Here are a few tips to keep in mind when cropping your pictures:
- Simplify the background: Crop the image to remove any unnecessary or distracting elements from the background. A clean and simple background helps students focus on the main subject of the image.
- Emphasize the subject: Make sure the subject of the image is large and clearly visible. You may need to crop closely around the subject to ensure it is the main focus of the picture.
- Use clear, high-quality images: Start with high-resolution images that are crisp and clear. This will help maintain quality after you crop the image.
- Maintain aspect ratio: When cropping, maintain the original aspect ratio of the image to avoid distortion. Many image editing tools provide an option to lock the aspect ratio while cropping. hint: aspect ratio is just a fancy word for the relationship between the width and height of an image, expressed as two numbers separated by a colon, such as 4:3. The first number represents the width, and the second number represents the height.
- Include context: While it is important to minimize distraction,iIf the image is meant to teach a concept or skill, it needs to give enough context for the viewer to understand the intended message, like a plumber with a wrench by a sink.
- Use a consistent style: If you are creating a series of images for educational materials, maintain a consistent style in terms of cropping, colors, and layout to make the materials visually cohesive and less distracting. The Language Builder Cards are all 3.5 x 4.875 inches, and almost always presented horizontally. If you want to maintain consistency with your free Language Builder Picture Cards, you may want to maintain that format.
Don't be overwhelmed
Of course this does take a bit of your precious time, but you don’t have to take all the pictures in one day. If a student is learning to label noun pictures, they might not learn more than a few words a week. If they are learning the words more quickly, then perhaps you can use less formal ways to teach the vocabulary, such as picture books or tablet apps.
Use an online stock-photography site
You can find images to supplement your free Language Builder Cards free by searching stock photography websites. These sites offer a wide variety of high-quality images that can be used for educational purposes. Some popular free stock photography websites include:
- Unsplash (unsplash.com)
- Pexels (pexels.com)
- Pixabay (pixabay.com)
- Burst by Shopify (burst.shopify.com)
- Freepik (freepik.com) - Note that while many resources on Freepik are free, some may require a subscription.
When searching for images on these sites, use specific keywords related to the educational topic you're focusing on, to find the most relevant images. For example “red apple on table with white background.” Some sites are better than others when it comes to getting good pictures and for targeted searches. iStock, Shutterstock and Adobe are consistent favorites, and you can usually get a 30-day free trial, before paying a monthly subscription fee.
Why would anyone use one of the paid sites rather than the free ones? It generally has to do with the rights to the images. You don't need to sell these, so you should be ok.
A quick note on sourcing pictures: Lesson 14 requires 2 identical pictures and Lesson 16 requires multiple pictures of the same item. So, it may be a good idea, if your student is at this lesson-level, to save yourself some time by printing duplicates and maybe taking or finding pictures of a few different shoes, cups, chairs, etc.
Share
Crafty teachers always seem to share their resources. You can consider dividing up the work, and then sharing the pictures among your colleagues. If you find the prepositions, and someone else finds the opposites, you can cut your time in half!
Lesson-Specific Tips for Implementing Language Builder ARIS Free Resource Kit
I truly hope that the downloadable Language Builder ARIS lessons have been a helpful teach tool for your classroom!
When we made available these 34 downloadable lessons from our Language Builder ARIS curriculum. We worked hard to include a variety of activities across the widest range of content possible. We gave you a sampling of picture cards to support the lessons, and guidance on how to build a rich library of materials to expand your students’ learning experience. You should check back to this site often, as we will continue to provide tips and support, and add more and more free resources!
![]()